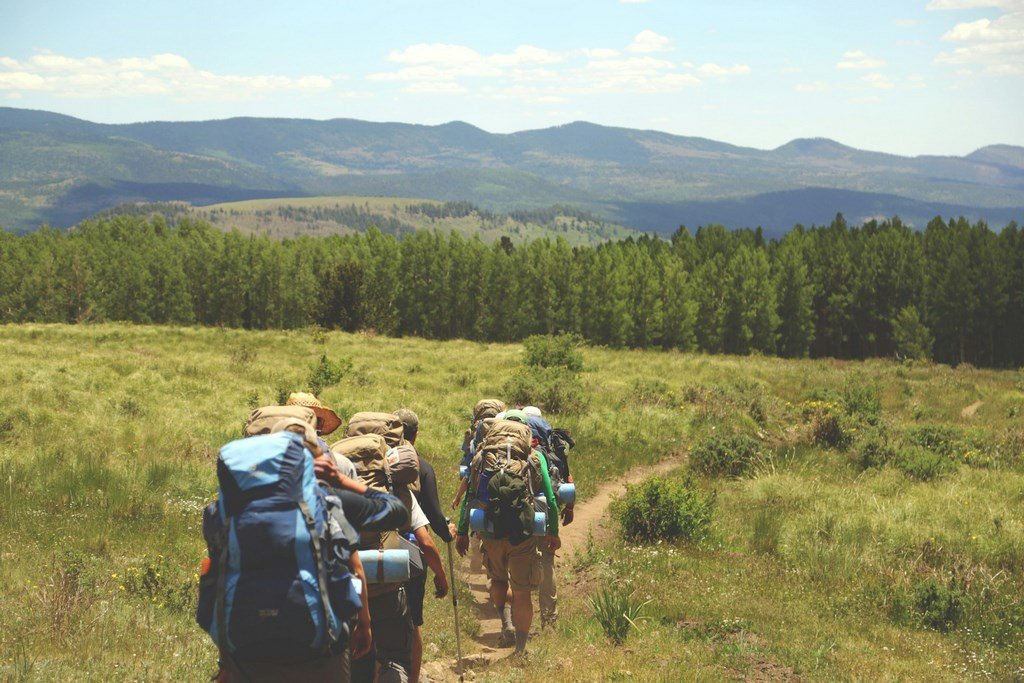
There is a specific kind of “good tired” that follows a day of exploring the British wilderness. Whether you’ve been tackling the limestone dales of Derbyshire or navigating the misty ridges of Skye, that post-hike feeling of accomplishment is unbeatable. However, the next morning can often tell a different story.
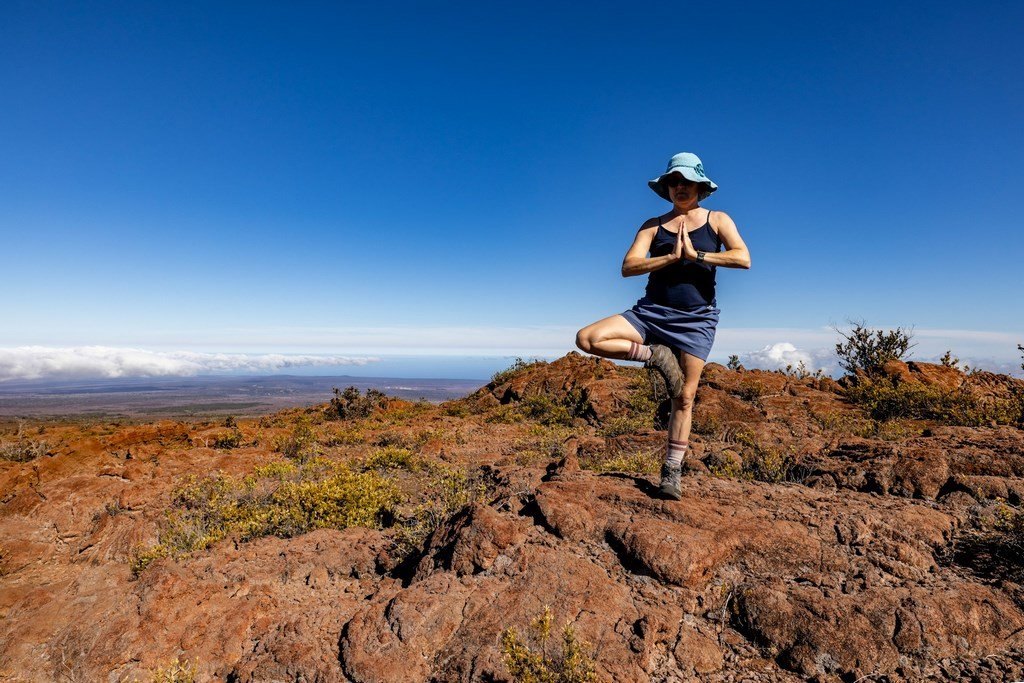
The “Lycra-clad” among us might reach for a protein shake, but for the seasoned rambler, the ultimate recovery tool is far simpler: Yoga. Hiking is essentially a repetitive, eccentric exercise. Your quads, hamstrings, and calves have spent hours contracting to propel you up hills and stabilize you on descents. Without a proper “cool down,” these muscles tighten, pulling on your lower back and knees. In 2026, yoga has become the go-to recovery strategy for serious hikers—not for the “spirituality,” but for the pure, functional benefit of staying on the trail longer.
Here is your essential sequence of 10 yoga poses to melt away the stiffness after a long walk.
The “Big Ten” Sequence for Hikers
You don’t need a fancy studio or even a mat. Most of these can be done on a hotel carpet, a tent groundsheet, or even the grass next to your car.
1. Downward Facing Dog (Adho Mukha Svanasana)
The Swiss Army Knife of poses. It stretches the entire “posterior chain”—from your heels up through your calves and hamstrings to your lower back.
Hiker Tip: Keep a slight bend in your knees and focus on “pedalling” your feet to target those tight calves.
2. Low Lunge (Anjaneyasana)
Hiking involves a lot of “hip flexion.” This pose is the antidote, stretching the psoas and hip flexors that get shortened during those steep ascents.
Hiker Tip: Keep your back knee on a cushion or a rolled-up jumper to protect your joint.
3. Half Splits (Ardha Hanumanasana)
The ultimate hamstring release. After a day in heavy boots, your hamstrings will be screaming for this.
Hiker Tip: Keep your back straight! It’s not about touching your toes; it’s about feeling the stretch in the back of your leg.
4. Pigeon Pose (Eka Pada Rajakapotasana)
This is the “Holy Grail” for glute and hip recovery. It targets the piriformis, which can cause sciatica-like pain if it gets too tight from uphill climbing.
Hiker Tip: If your hips are very tight, sit on a block or a folded blanket to keep them level.
5. Lizard Pose (Utthan Pristhasana)
A deeper version of the lunge that gets into the inner groin and hips.
Hiker Tip: Gently rock side to side to “massage” the hip joint.
6. Wide-Legged Forward Fold (Prasarita Padottanasana)
This releases the lower back and stretches the inner thighs (adductors), which work hard to keep you balanced on uneven gritstone.
Hiker Tip: Let your head hang heavy to release tension in the neck and shoulders (caused by carrying a rucksack).
7. Thread the Needle (Parsva Balasana)
Often overlooked, hikers carry a lot of tension in their upper back and shoulders from pack straps. This pose provides a much-needed spinal twist.
Hiker Tip: Breathe deep into the space between your shoulder blades.
8. Calf Stretch Against a Wall
Not strictly “yoga,” but a variation of Virasana.
Hiker Tip: Hold this for at least 60 seconds per side. Your calves are the “pumps” for your circulation; stretching them helps flush out lactic acid.
9. Legs Up the Wall (Viparita Karani)
The most important pose for any hiker. It uses gravity to drain fluid and “stale” blood from the legs, reducing swelling.
Hiker Tip: Stay here for at least 5-10 minutes. It’s the ultimate nervous system reset.
10. Corpse Pose (Savasana)
The final rest. It allows your body to integrate the work you’ve done and fully transition into “Rest and Digest” mode.
Comparison: Yoga vs. Passive Rest
| Feature | Post-Hike Yoga | Passive Rest (Sitting on Sofa) |
| Lactic Acid Removal | Accelerated (via blood flow) | Slow |
| Muscle Length | Restored / Lengthened | Shortened / Tightened |
| Joint Mobility | Maintained / Improved | Can become stiff/aching |
| Mental Recovery | Mindfulness & focus | Often distracted (TV/Phone) |
| Next-Day Stiffness | Significantly Reduced | High |
3 “Pro” Recovery Rules for 2026
The “2-Hour Window”: Try to perform this sequence within two hours of finishing your walk. The longer you wait, the more the “stiffening” sets in.
Hydrate While You Move: Sip water throughout your stretches. Moving the muscles helps push the hydration into the fascia.
Breathe into the Tightness: If a pose feels uncomfortable (but not painful), use your exhales to “send” breath to that area. It sounds “airy-fairy,” but it actually helps your nervous system relax the muscle.
FAQ: Post-Hike Recovery
1. I’m not flexible—can I still do these poses?
Yes! Yoga isn’t about being flexible; it’s about getting flexible. Use “props” (books, chairs, or cushions) to bring the floor closer to you. A “stiff” hiker has the most to gain from yoga.
2. How long should I hold each pose?
For recovery, aim for 30 to 60 seconds. This gives the fascia (the connective tissue) time to actually release.
3. Should I do yoga before my hike too?
Before a hike, you want “Dynamic Stretching” (leg swings, arm circles) to wake the muscles up. Save the deep, static “Yoga” stretches for the end of the day.
4. My lower back hurts after hiking; which pose is best?
Downward Dog and Legs Up the Wall are fantastic, but a gentle Cat-Cow stretch is also brilliant for mobilizing a spine that’s been compressed by a rucksack all day.
5. Can I do yoga if I have knee pain?
Yes, but be careful (see our guide on Hiking with Knee Pain!). Avoid any pose that causes sharp pain, and always keep a micro-bend in your knees during forward folds.