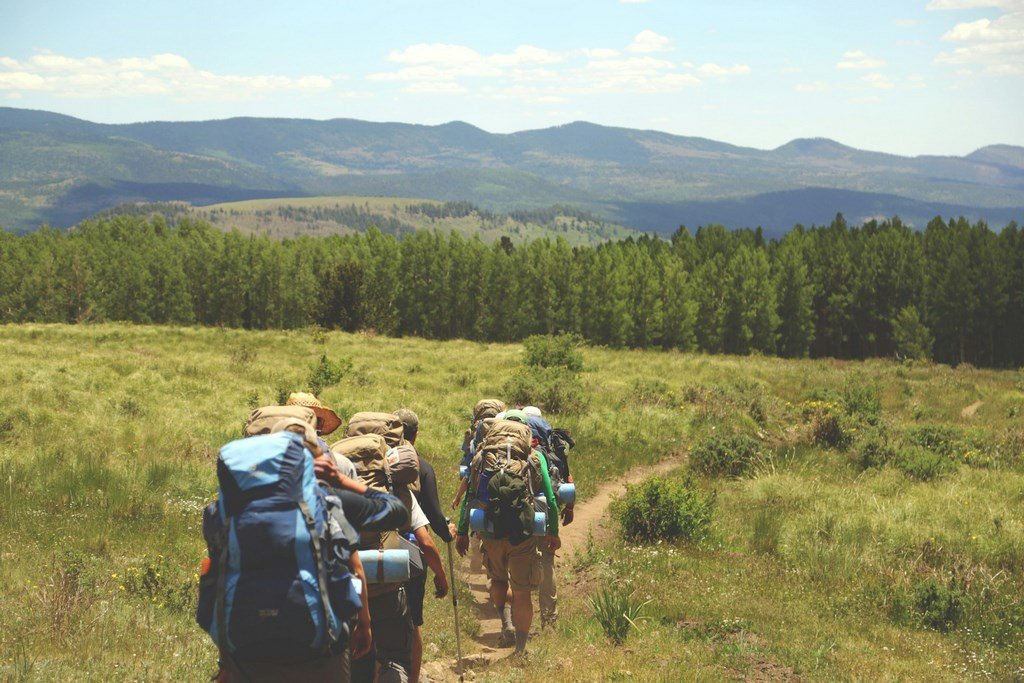
There is a specific, sinking feeling that many a seasoned hiker knows all too well. You’ve just reached the summit of a Peak District “Edge” or a Lakeland fell, the view is spectacular, and the air is crisp—but as you look down at the descent, your knees let out a sharp, protesting twinge.
In the UK, our trails are famous for their “verticality.” Whether it’s the stone-pitched stairs of the Lake District or the relentless gradients of the Scottish Highlands, our knees take a beating. But as someone who has spent years exploring these islands, I can tell you: knee pain doesn’t have to mean the end of your hiking career.
In 2026, we have better gear, better sports science, and a better understanding of “low-impact” movement than ever before. This guide is your roadmap to managing knee pain, choosing the right trails, and ensuring your joints stay as resilient as the landscapes you love.
Why Hiking Hits the Knees (and Why We Still Do It)
The knee is a brilliant piece of engineering, but it isn’t particularly fond of “eccentric loading”—the technical term for the pressure applied when walking downhill. When descending a steep British trail, the force on your knee joint can be three to four times your body weight.
However, hiking is also one of the best ways to strengthen the muscles that support the knee (the quads, glutes, and hamstrings). The goal isn’t to stop hiking; it’s to change how you hike.
5 Game-Changing Tips for Low-Impact Trekking
1. The “Four-Wheel Drive” Method: Use Poles
If you take only one piece of advice from this article, let it be this: Buy trekking poles. * The Science: Using two poles can reduce the impact on your knees by up to 25%, especially on descents. It redistributes the weight to your upper body, turning you from a wobbling bipod into a stable quadruped.
Pro Tip: When going downhill, lengthen your poles slightly so you can plant them ahead of you, taking the weight off your knees before you step.
2. Master the “Fox Walk” Descent
Most hikers “clatter” downhill, landing heavily on their heels with a locked knee. This sends a shockwave straight into the joint.
The Technique: Keep your knees slightly bent (never locked). Take shorter, “softer” steps, landing more toward the mid-foot. Imagine you are a fox trying to move silently through the woods.
3. Lighten the Load
Every extra kilo in your rucksack is an extra four kilos of pressure on your knees during a descent.
The Fix: In 2026, “ultralight” gear is more accessible than ever. Audit your pack. Do you really need that heavy cast-iron stove for a day hike? Switching to a lighter pack can be the difference between a painful week and a pain-free Sunday.
4. Choose “White Peak” over “Dark Peak”
If your knees are particularly inflamed, choose your terrain wisely.
Terrain Choice: Limestone dales (the White Peak) or coastal paths often offer more gradual gradients than the steep, rocky gritstone of the Dark Peak or the craggy summits of the North. (Check out our guide to Accessible Coastal Walks!).
5. Strengthen the “Support Act”
Knee pain is often caused by weak glutes or tight hamstrings.
The Exercise: Incorporate “Step-Ups” and “Wall Sits” into your weekly routine. Strengthening the muscles around the knee creates a natural brace that protects the joint during long days on the trail.
Comparison: Knee Support Strategies
| Strategy | Effectiveness for Pain | Impact on Pace | Pros | Cons |
| Trekking Poles | Exceptional | Minor decrease | Massive impact reduction | Can be cumbersome on stiles |
| Knee Sleeves/Braces | Moderate | None | Provides stability & warmth | Can restrict circulation if too tight |
| Anti-Inflammatories | High (Short-term) | None | Masks immediate pain | Doesn’t fix the underlying issue |
| Trail Rerouting | High | Variable | Avoids the worst “triggers” | Might miss out on some summits |
The Post-Hike Recovery Protocol
Recovery is where the “healing” happens. Don’t just jump in the car and drive home for two hours!
The “Active” Cool Down: Before sitting in the car, do 5 minutes of gentle walking on flat ground and some light quad stretches.
Compression & Elevation: When you get home, elevate your legs. This helps drain any “effusion” (swelling) from the knee joint.
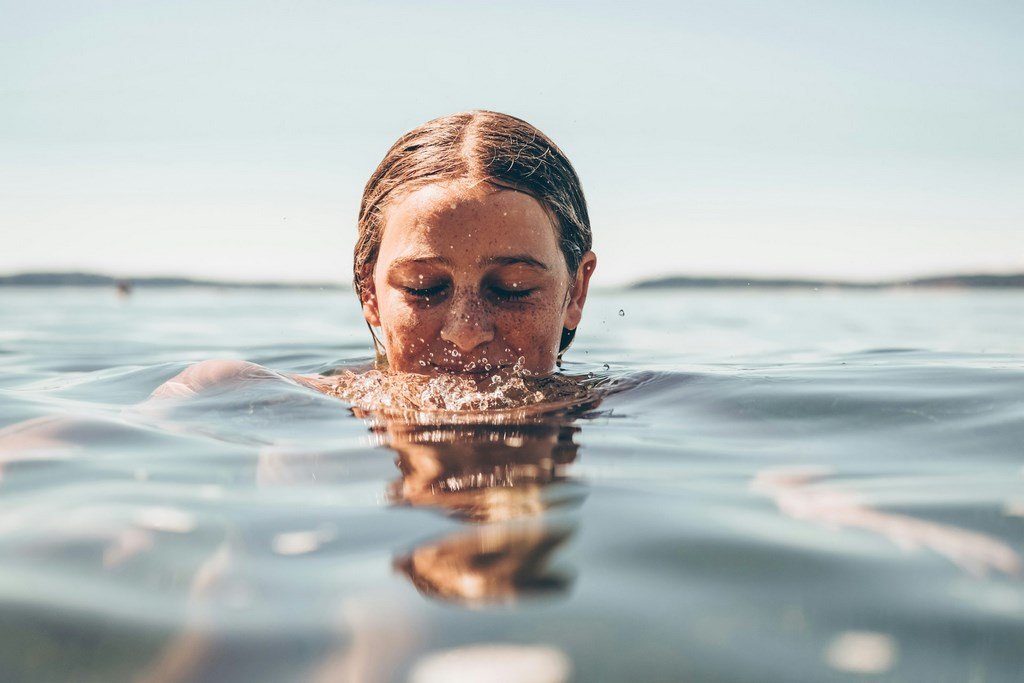
The “Cold Dip” (See our Wild Swimming Guides!): Immersing your legs in a cold stream or a cold bath at home for 10 minutes is a powerful way to reduce post-hike inflammation.
Anti-Inflammatory Nutrition: Reach for foods high in Omega-3 (oily fish or walnuts) and turmeric to help soothe the joints from the inside out.
FAQ: Hiking and Joint Health
1. Should I wear a knee brace while hiking?
A compression sleeve can be helpful for “proprioception” (helping your brain know where your knee is), but a heavy hinged brace should only be used if recommended by a physiotherapist. Relying on a brace too much can actually weaken the supporting muscles.
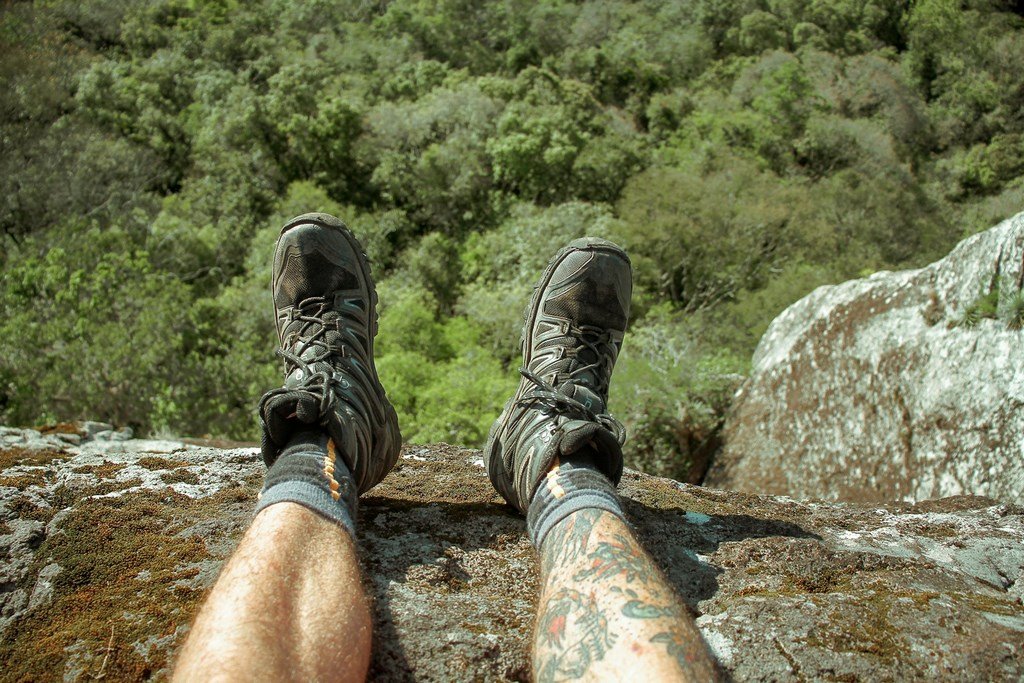
2. Are “Cushioned” trail runners better than boots?
For many, yes. Modern “maximalist” trail shoes (like Hoka or Altra) offer significant shock absorption. However, if you have weak ankles, the stability of a boot might still be preferable. It’s a personal balance of “cushion vs. support.”
3. Is downhill always worse than uphill?
For the vast majority of knee sufferers (especially those with Patellofemoral Pain Syndrome), downhill is the primary trigger. Uphill is cardiovascularly harder but mechanically much kinder to the joints.
4. Can I still bag Munros with bad knees?
Yes, but you may need to “section” your hikes, take more frequent breaks, and be very disciplined with your trekking poles. Choosing routes with more gradual “zig-zag” paths (switchbacks) rather than direct “up-and-over” routes is key.
5. When should I see a doctor?
If your knee “locks,” if there is significant swelling that doesn’t go down after 48 hours, or if the pain is sharp and prevents you from putting weight on the leg, it’s time to see a professional.